The 2026 Interior House Painting Guide: A DIY Homeowner's Step-by-Step Handbook
Complete DIY interior painting guide for 2026. Learn what's changed, step-by-step techniques, when to call pros, and how to achieve professional results in your Utah home.
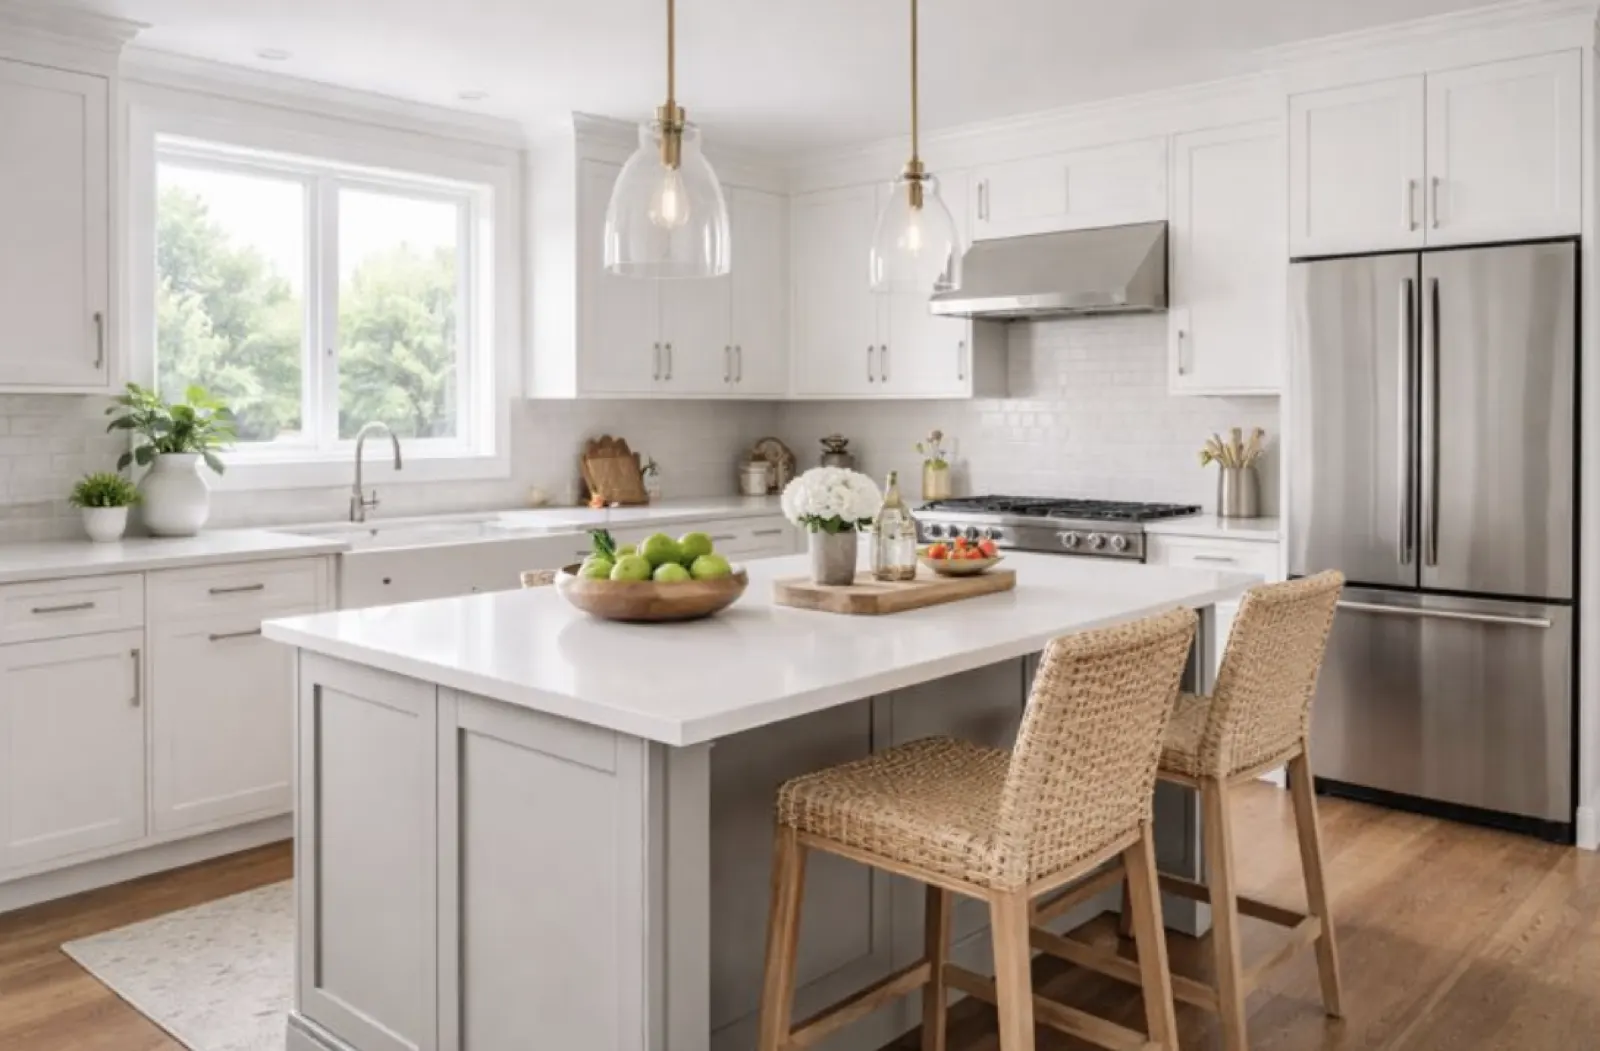
Interior house painting remains one of the most popular DIY home improvement projects going into 2026. A fresh coat of paint can dramatically improve the look and feel of your home — but only if it's done correctly.
With modern paint formulas, evolving design trends, and changing home construction standards, interior painting in 2026 looks very different than it did even a few years ago. This guide walks homeowners through how to paint interior spaces properly, what's changed, and when DIY painting makes sense — and when it doesn't.
What's New About Interior Painting in 2026
Interior painting has evolved in three major ways:
- Improved paint technology – better durability, lower VOCs, faster curing
- Higher homeowner expectations – cleaner lines, smoother finishes, longer lifespan
- More complex interiors – taller ceilings, open layouts, mixed materials
Because of this, surface preparation and product selection matter more than ever.
Step 1: Decide If DIY Interior Painting Is Right for You
DIY painting works best for:
- Single rooms
- Simple layouts
- Standard ceiling heights
- Minimal wall damage
- Light color changes
DIY painting becomes challenging when:
- Walls need repairs or texture blending
- Ceilings are vaulted
- Multiple finishes are involved
- High-traffic rooms need durability
- You want a flawless, long-lasting result
Many homeowners begin DIY projects and later consult professional interior painting services in Utah once they realize how much prep and detail work is required.
Step 2: Choose the Right Paint for Interior Walls
In 2026, interior paints are engineered to last longer — but only when used correctly.
Recommended finishes:
- Eggshell or satin for living rooms and bedrooms
- Semi-gloss for kitchens, bathrooms, and trim
- Flat or matte only for low-traffic areas
Paint brand matters less than proper prep, finish choice, and application technique.
Step 3: Proper Wall Preparation (The Most Important Step)
Preparation accounts for over 70% of a successful interior paint job.
DIY prep should include:
- Removing wall dust and oils
- Filling nail holes and small cracks
- Sanding patched areas smooth
- Spot-priming all repairs
- Taping trim, outlets, and fixtures
Skipping prep leads to peeling paint, visible patches, uneven sheen, and shorter paint lifespan.
This is the stage where many DIY painters decide to bring in professionals.
Step 4: Priming — When You Actually Need It
Primer is required when:
- Painting over dark or bold colors
- Covering stains
- Painting new drywall
- Repairing textured walls
- Making significant color changes
Modern "paint-and-primer-in-one" products help, but they do not replace proper priming on repaired or problem surfaces.
Step 5: Painting Technique That Actually Works
Best DIY practices in 2026:
- Cut in edges before rolling
- Use quality rollers (⅜–½ nap for most interiors)
- Roll in overlapping "W" patterns
- Maintain a wet edge to avoid lap marks
- Apply two full coats
Rushing is the most common DIY mistake.
Step 6: Painting Bedrooms vs. Common Areas
Bedrooms are the most DIY-friendly rooms because they:
- Receive less wear
- Have fewer fixtures
- Feature smaller wall sections
That said, finish selection still matters. If you're repainting sleeping areas, reviewing professional standards for bedroom painting in Utah helps homeowners understand durability and finish expectations.
Living rooms, hallways, and open-concept spaces expose DIY mistakes much faster.
Step 7: Drying vs. Curing (Most DIYers Get This Wrong)
Paint may feel dry within hours, but curing takes days or even weeks.
In 2026:
- Light use is safe after 24–48 hours
- Cleaning walls should wait 14–30 days
- Furniture should be moved carefully for the first week
Ignoring cure time leads to scuffs, marks, and premature wear.
Step 8: Understanding Interior Painting Costs Before You Start
Many homeowners underestimate the real cost of DIY painting.
DIY costs include:
- Paint
- Rollers and brushes
- Drop cloths and tape
- Sandpaper and patching materials
- Significant time investment
Before starting, reviewing a professional cost to paint a room breakdown helps homeowners compare DIY effort versus professional value realistically.
When DIY Interior Painting Stops Making Sense
DIY painting may not be the best option when:
- Multiple rooms are involved
- Walls require repair or texture blending
- Ceilings exceed 9 feet
- You want perfect edges and uniform finish
- Time matters more than cost savings
At this point, many homeowners consult professional painters to ensure the job is done once — and done correctly.
Why Professional Standards Matter (Even for DIY Projects)
Even homeowners who choose DIY benefit from understanding professional processes. Companies that specialize in interior house painting follow structured systems focused on prep, protection, consistency, and durability.
Learning these standards improves DIY results — or helps homeowners recognize when professional help is the smarter option.
Final Thoughts: A Smarter DIY Approach for 2026
Interior painting in 2026 isn't just about color — it's about:
- Surface preparation
- Product compatibility
- Finish selection
- Long-term durability
DIY painting can be rewarding when done correctly, but knowing your limits is part of doing it right.
Need Professional Help?
If your DIY project grows beyond what you expected, Elevate Paint Pros provides professional interior painting services designed for Utah homes, modern layouts, and long-lasting finishes.
📞 Call: (801) 512-2916
👉 Explore our services: https://www.elevatepaintpros.com/services