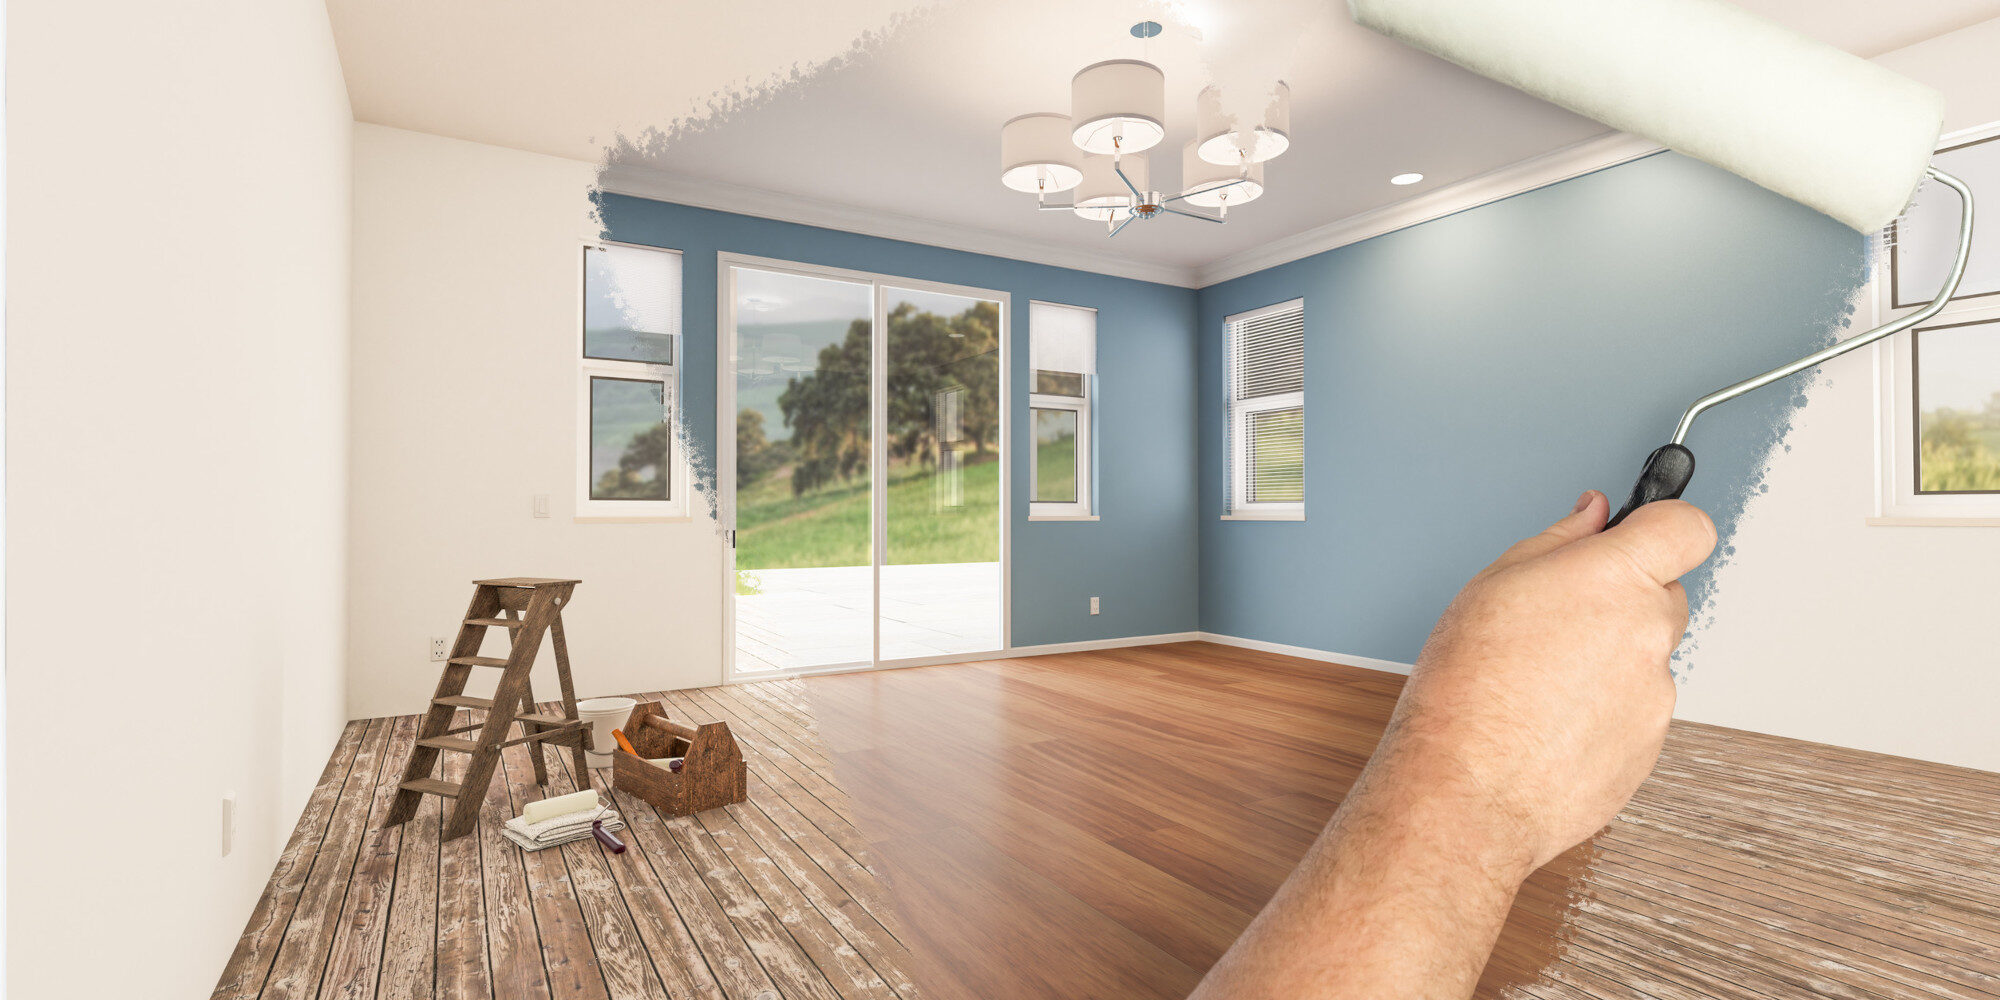
How to Prep Your Utah Home's Interior for a Professional Paint Job
Preparing your home before a professional interior paint project can make the difference between an average result and a flawless finish. Learn the essential steps to get your Utah home ready for professional painting.

Preparing your home before a professional interior paint project can make the difference between an average result and a flawless finish. For Utah homeowners — where bright sunlight, dry air, and unique architecture meet — the right preparation ensures smooth coverage and long-lasting color.
Here's a step-by-step guide from Elevate Paint Pros, Utah's trusted painting company, to help you get your interior ready for a professional touch.
Why Interior Paint Prep Matters
Even the highest-quality paints can't perform well on unprepared surfaces. Dust, oils, and small imperfections prevent paint from bonding properly — leading to uneven texture or early peeling.
In Utah's dry climate, walls tend to accumulate fine dust quickly, and low humidity can cause paint to dry too fast if the surface isn't properly cleaned and primed. Preparing your home ensures the paint adheres evenly and stays beautiful for years.
Step 1: Declutter and Protect the Space
Before painters arrive, move furniture at least three feet away from walls or into another room. Remove artwork, curtains, electronics, and fragile items. Cover large furniture or floors with drop cloths or plastic sheeting.
Utah Tip:
Static from dry air (especially in winter months) attracts dust to surfaces. Wipe down areas before covering them to keep debris from sticking to freshly painted walls.
Step 2: Clean the Walls
Paint sticks best to clean, dry surfaces. Use a damp cloth or mild soap and water to remove dirt, fingerprints, or grease — particularly around high-touch areas like doorways, light switches, and kitchen walls.
Pro Tip:
Avoid harsh cleaners or vinegar solutions — they can affect how paint adheres. Elevate Paint Pros uses specialized cleaning solutions designed for professional-grade adhesion.
Step 3: Repair and Smooth Imperfections
Check for dents, nail holes, or cracked caulking. Patch small holes with spackle and sand them smooth once dry. This step is especially important for Utah's newer construction homes, where settling can cause fine hairline cracks along walls and corners.
Lighting Trick:
Shine a flashlight at an angle — it'll reveal every bump and imperfection that might show through paint later.
Step 4: Choose the Right Paint Finish for Each Room
Different rooms experience different levels of wear and light exposure.
- Living Rooms & Bedrooms: Eggshell or satin finishes offer a smooth, elegant look that's easy to clean.
- Kitchens & Bathrooms: Semi-gloss or gloss resists moisture and frequent scrubbing.
- Trim & Doors: Gloss provides durability and bold contrast.
Elevate Paint Pros offers in-home color and finish consultations to help you pick the perfect combination for your home's lighting and design.
Step 5: Ensure Proper Ventilation
Utah's winters often mean closed windows and dry indoor heat, which can trap paint fumes. Improve ventilation by opening nearby windows, using ceiling fans, or running an air purifier.
Our team uses low-VOC, eco-friendly paints that reduce odor and promote better indoor air quality — perfect for families and pets.
Step 6: Plan for Painter Access and Workflow
Before painting day, make sure the painting crew can easily move around your home. Clear hallways, provide easy access to outlets, and identify which rooms you'd like painted first.
At Elevate Paint Pros, communication is key. Our painters coordinate with each homeowner to create a clear schedule and minimize disruption throughout the project.
Step 7: Let the Paint Set Properly
After painting is complete, give your walls at least 24 hours before touching or decorating them. While Utah's dry air speeds up drying time, full curing takes several days — patience ensures your paint reaches its full strength and smooth finish.
Common Prep Mistakes Utah Homeowners Make
- Skipping wall cleaning: Even invisible dust affects adhesion.
- Painting over glossy finishes: Always scuff-sand or prime glossy walls first.
- Ignoring humidity: Running a humidifier during winter can help prevent premature paint cracking.
- Using cheap painter's tape: Low-quality tape can bleed or damage fresh paint.
Avoiding these pitfalls saves both time and touch-up costs later.
Why Utah Homeowners Trust Elevate Paint Pros
With years of experience serving Salt Lake City, Layton, Ogden, Draper, and surrounding areas, Elevate Paint Pros is known for high-quality craftsmanship and unbeatable communication. We handle every step of the process — from wall prep and repairs to priming, painting, and cleanup — ensuring your home looks stunning and feels brand new.
Our commitment to professionalism, punctuality, and Utah-tested techniques sets us apart as one of the state's most trusted painting companies.
Ready to Refresh Your Interior?
Whether you're updating your living room, repainting your kitchen, or transforming your entire home interior, Elevate Paint Pros delivers precision, style, and durability.
Let us handle the prep work and painting so you can sit back and enjoy a flawless, lasting finish.
📞 Call Today: (801) 512-2916
🌐 Schedule a Free Estimate: Visit our website at www.elevatepaintpros.com