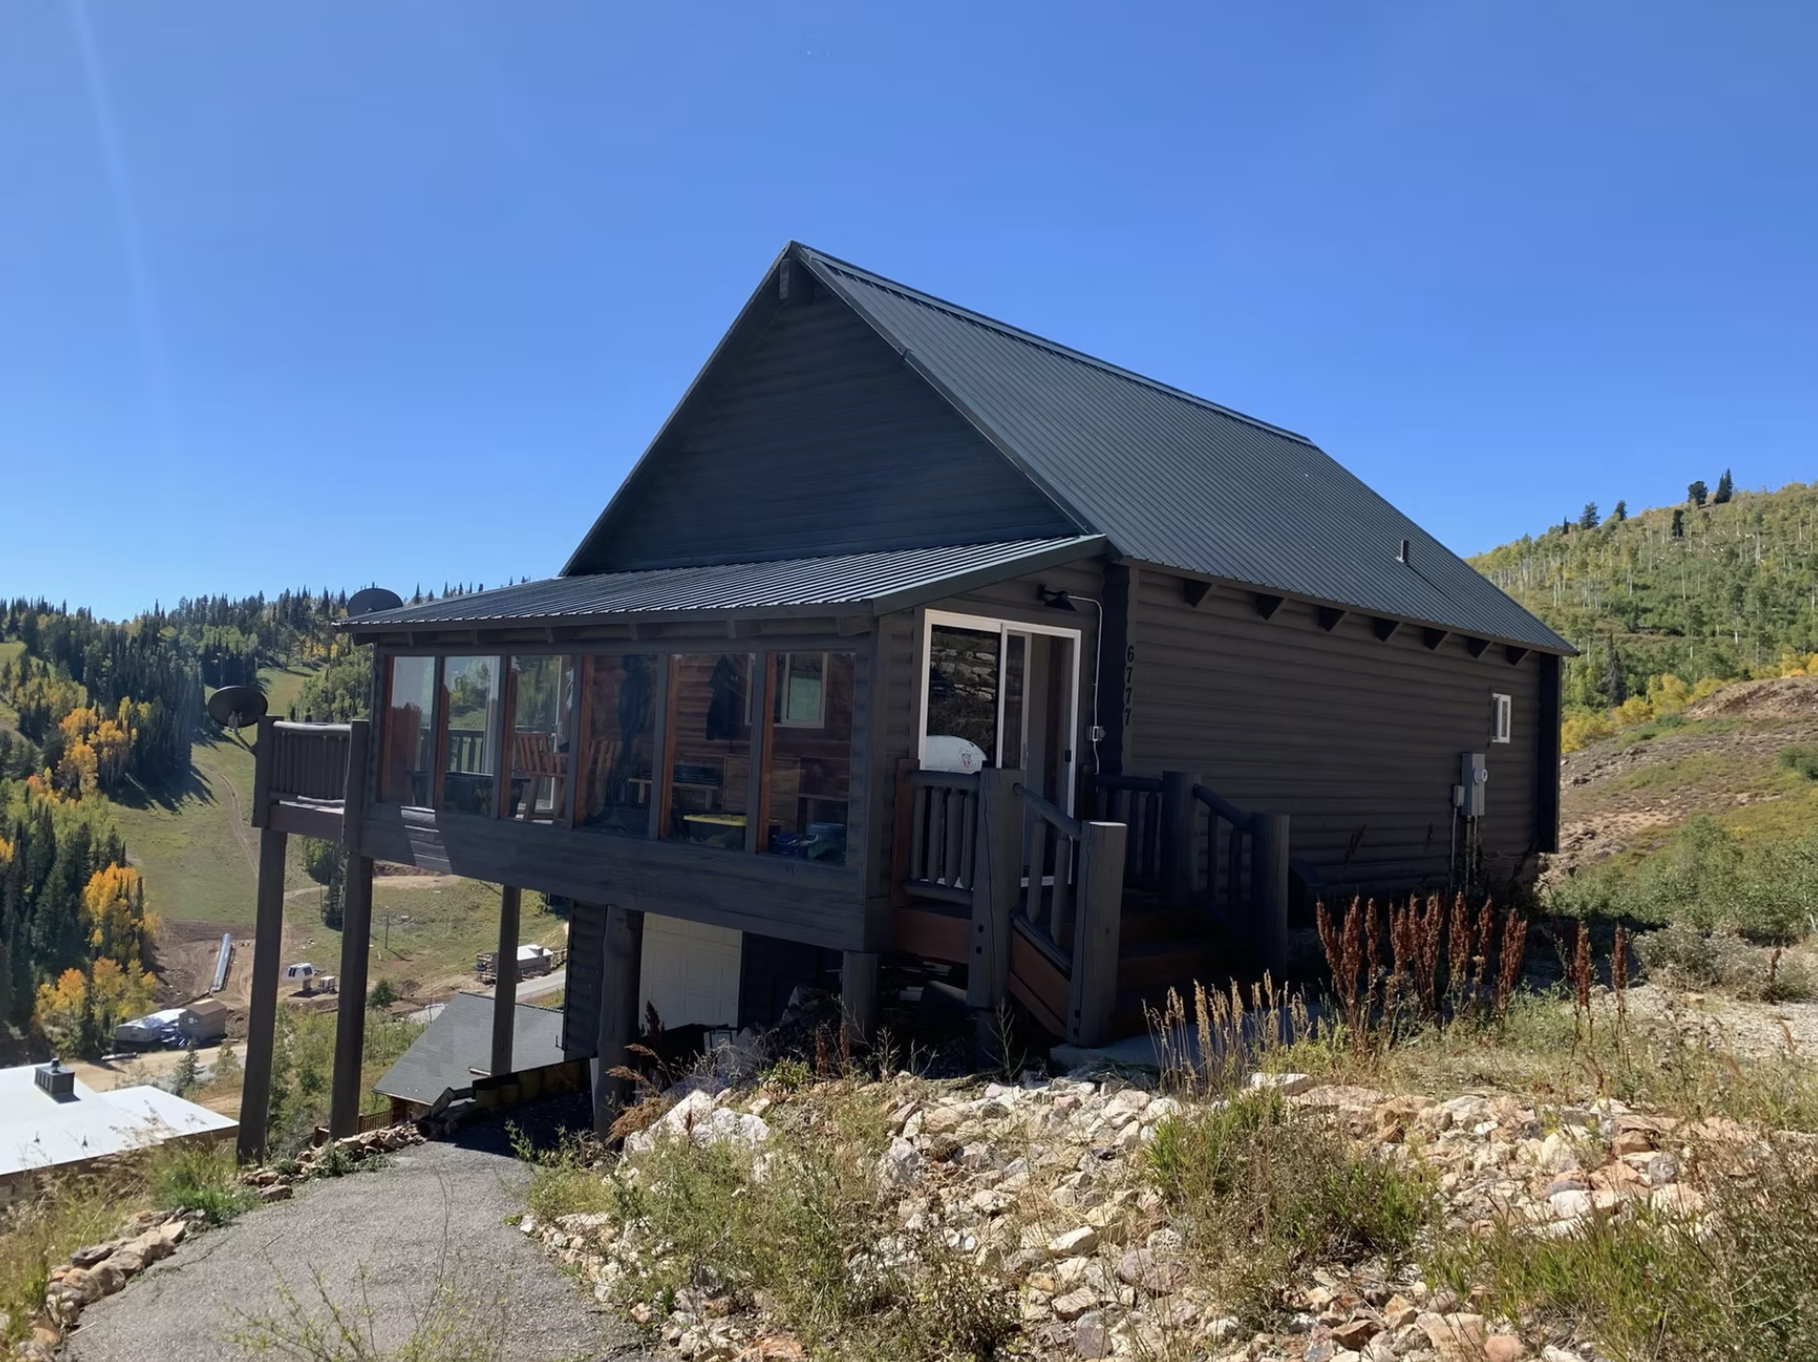
Preparing Your Home for Exterior Painting
Essential steps to prepare your home's exterior for a professional paint job that will last for years.

Exterior painting is one of the most impactful home improvement projects you can undertake. Not only does it enhance your home's curb appeal, but it also provides essential protection against the elements. However, the key to a successful exterior paint job lies in thorough preparation. Here's your comprehensive guide to preparing your home for exterior painting.
Why Preparation is Critical
Proper preparation accounts for 80% of a successful paint job. Without adequate preparation, even the highest quality paint won't adhere properly, leading to premature peeling, cracking, and the need for costly repairs. Taking the time to prepare your home properly will ensure your new paint job lasts for years to come.
Step 1: Safety First
Before beginning any exterior painting project, safety should be your top priority:
- Protect Yourself: Wear safety glasses, gloves, and a dust mask
- Secure Ladders: Ensure all ladders are stable and properly positioned
- Check Weather: Avoid painting in extreme temperatures or high humidity
- Protect Landscaping: Cover plants and shrubs with drop cloths
Step 2: Clean the Surface
A clean surface is essential for paint adhesion. Here's how to properly clean your home's exterior:
Power Washing
- Use a pressure washer with 1500-2000 PSI
- Start from the top and work your way down
- Hold the wand 12-18 inches from the surface
- Use a wide-angle tip to avoid damaging the surface
Hand Washing
- Mix warm water with mild detergent
- Use a soft-bristle brush for stubborn areas
- Rinse thoroughly with clean water
- Allow the surface to dry completely (24-48 hours)
Step 3: Repair and Replace
After cleaning, inspect your home for any damage that needs to be repaired before painting:
Common Repairs Needed
- Caulk Gaps: Seal gaps around windows, doors, and trim
- Replace Rotted Wood: Cut out and replace any rotted or damaged wood
- Fix Cracks: Fill hairline cracks with appropriate filler
- Repair Holes: Fill nail holes and other small imperfections
Step 4: Scrape and Sand
Remove loose or peeling paint to create a smooth, stable surface:
- Use a paint scraper to remove loose paint
- Sand rough areas with 80-120 grit sandpaper
- Feather edges of remaining paint
- Clean up all dust and debris
Step 5: Prime the Surface
Priming is essential for proper paint adhesion and uniform color:
When to Prime
- Bare wood or metal surfaces
- Areas where old paint was removed
- Stained or discolored surfaces
- When changing from dark to light colors
Step 6: Protect Surrounding Areas
Proper protection prevents paint from getting where it shouldn't:
- Cover windows, doors, and trim with painter's tape
- Use drop cloths to protect landscaping and walkways
- Cover electrical outlets and fixtures
- Protect roof edges and gutters
Step 7: Choose the Right Paint
Selecting the appropriate paint for your climate and surface type is crucial:
Paint Considerations
- Climate: Choose paint rated for your local weather conditions
- Surface Type: Different surfaces require specific paint types
- Quality: Invest in premium paint for better durability
- Color: Consider how the color will look in different lighting
Step 8: Plan Your Painting Strategy
A well-planned approach ensures efficient and effective painting:
- Start with the highest areas and work down
- Paint in the shade to avoid rapid drying
- Work in small sections to maintain wet edges
- Plan for multiple coats if necessary
Final Tips
Remember that exterior painting is a significant investment in your home. Taking the time to prepare properly will ensure that your paint job not only looks great but also provides lasting protection for your home. If you're unsure about any aspect of the preparation process, consider consulting with a professional painter who can guide you through the process or handle the entire project for you.
With proper preparation, your exterior paint job will enhance your home's beauty and value for years to come.