What to Expect When You Hire a Professional Painter in Utah
What to expect when you hire a professional painter in Utah. Step-by-step process from estimate to final walkthrough, timelines, and what a typical paint day looks like.
You have gotten a few quotes, compared your options, and decided to hire a professional painter. Now what? If you have never hired a painting contractor before, the process from first call to final walkthrough can feel unfamiliar. Knowing what to expect at each stage helps you prepare, reduces surprises, and makes the whole project smoother for everyone.
Here is what the process looks like when you hire a professional painting company in Utah.
Step 1: The Consultation
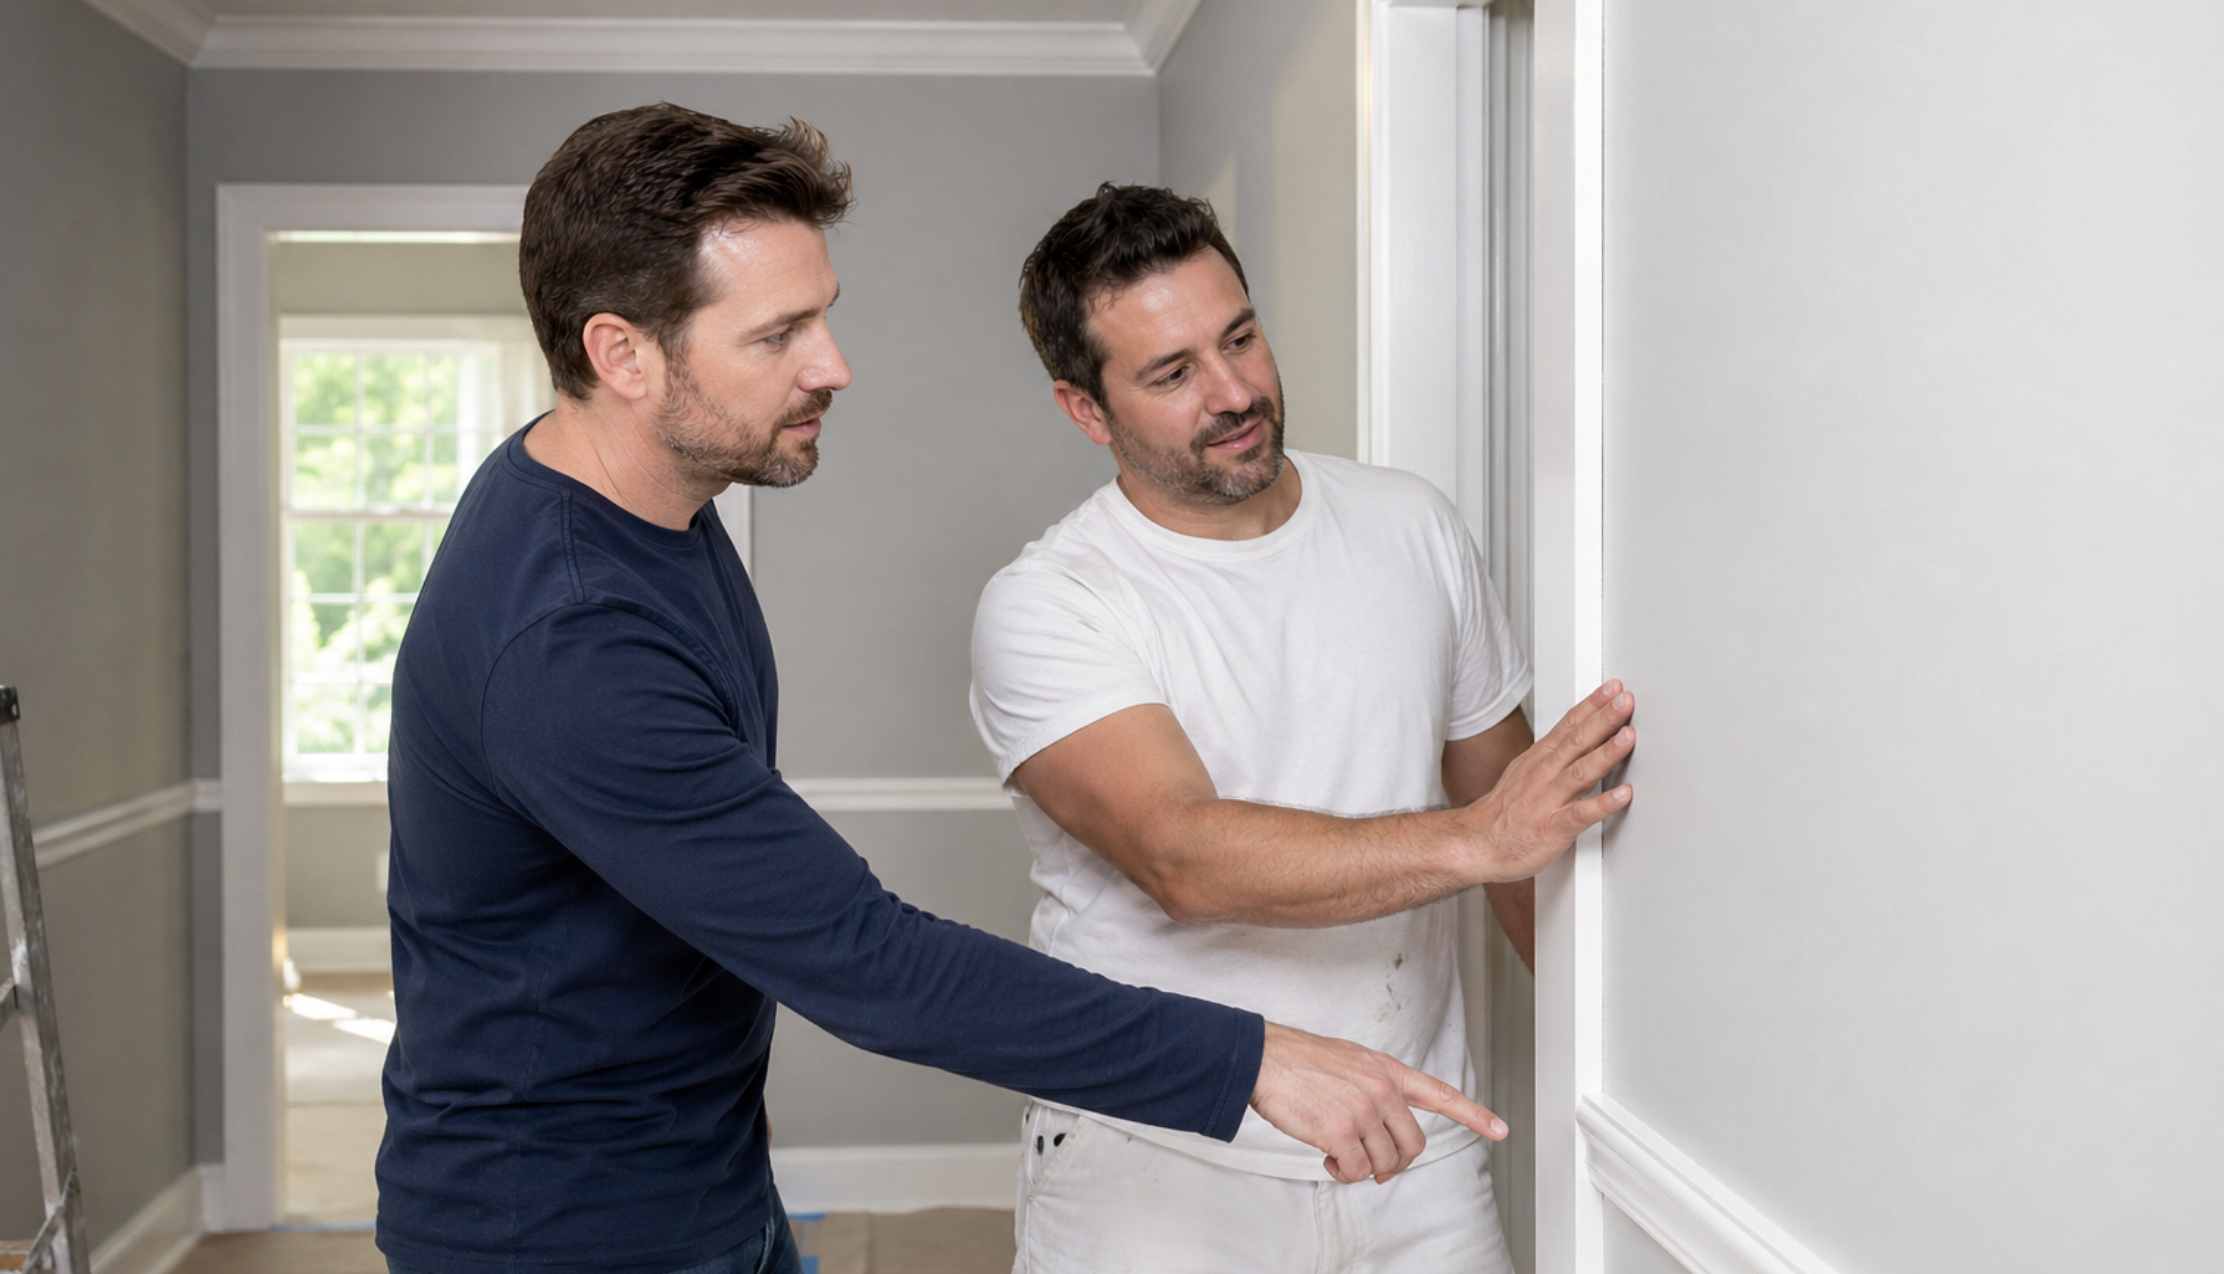
The first real interaction is the estimate. We reach out as soon as possible after a lead contacts us to discuss the project, see if we are a good fit, and schedule an in-home consultation.
The consultation usually takes about an hour. Here is what we are looking at during that time:
- Scope of the project. We walk the project with you to make sure we are on the same page about what needs to be done. Every room, every surface, every detail. If you are not sure whether to include ceilings, we will give you our recommendation and let you decide.
- Complexity. High ceilings, vaulted rooms, multiple colors, accent walls, trim detail, and built-in cabinetry all affect the scope and timeline. We note these during the walkthrough.
- Prep required. This is where experience matters. We look for existing damage, holes, cracks, failing caulk, peeling paint, and surface conditions that need attention before any new paint goes on. The prep work is what separates a paint job that lasts from one that does not.
- Safety concerns. Anything that would require additional planning on our part: lead paint possibility (pre-1978 homes), difficult access, pets, working around your family's schedule.
At the end of the estimate, we present the quote. We break down what is included, what products we recommend, and what the timeline looks like. No pressure, no hard sell. We want you to make an informed decision.

Step 2: The Proposal and Booking Process
If we decide to move forward, the next step is finalizing the details. This includes:
- Color selection. If you have not already chosen your colors, we offer a complementary color consultation. We work with local designers who will meet with you and help you select the ideal colors for your project. This is included at no additional charge.
- Scheduling. We book projects based on crew availability and the scope of work. Interior projects can often be scheduled within a few weeks. Exterior projects are weather-dependent and seasonal, so booking in advance is important, especially for spring and summer.
- Scope confirmation. Before the project starts, we confirm the full scope, the products, and the colors in writing. No surprises on either side.
Step 3: Pre-Project Prep (What the Crew Does Before Painting)
Day one on a paint job is usually not a painting day. It is a masking and prep day.
Here is what happens: The crew masks everything that needs to be covered. Floors, furniture, fixtures, countertops, anything that should not get paint on it gets protected. Then they start prepping the surfaces.
For interior projects, prep includes filling all holes and dents, recaulking trim joints, sanding trim and wall surfaces for adhesion, and spot priming any repairs or bare spots. If there is existing damage (water stains, drywall cracks, peeling paint), those are addressed before any topcoat goes on.
For exterior projects, prep starts with power washing to remove dirt, chalk, and loose paint. Then comes scraping, sanding, repairs (wood rot, stucco patching, caulk replacement), and spot priming.
The prep process may take one day or it may take two or three days depending on the size and condition of the project. This is not wasted time. This is the most important part. The prep is what makes the paint adhere properly and last for years. Contractors who skip or rush prep are the ones whose work starts peeling in a year.
Step 4: Paint Day (What a Typical Day Looks Like)
Once prep is complete, painting begins. Here is the typical order for an interior project:
- Ceilings first. If ceilings are included, they are painted before anything else. This prevents drips and overspray from landing on freshly painted walls or trim.
- Trim and doors second. Trim, door frames, window frames, and baseboards are typically painted next. This is the detail work that requires a steady hand and quality products. We use Sherwin-Williams Emerald Urethane Trim Enamel for a smooth, durable finish.
- Walls last. Walls are cut in (brushed along edges, corners, and trim) and then rolled. Most walls get two coats, with the appropriate dry time between coats.
Our crews work through the day and clean up at the end. You can expect some noise (ladders, drop cloths, the occasional conversation), some paint smell (we use low-VOC products, but there will still be some odor), and occasional disruption to your normal routine.
Daily updates. You will get updates from our project manager every day the crew is on site. You will know what was completed, what is planned for the next day, and whether the project is on track for the estimated completion date.
Step 5: Final Walkthrough and Touch-Ups
When the crew finishes, we schedule a final walkthrough with you. This is done together. We walk through every room, every surface, and look for anything that needs attention.
We are looking for light spots, runs, wavy lines, anything that is not up to standard. More importantly, we want to make sure everything looks the way you imagined it. Your expectations are the benchmark, not ours.
Touch-ups happen on the spot or are scheduled for a quick follow-up visit. We do not consider a project complete until you are fully satisfied with the result. That is what our warranty is built on.
How Long Does a Typical Paint Job Take in Utah?
Timelines depend on the scope:
- Single room (walls only): 1 day
- Multi-room interior (3 to 5 rooms, walls, trim, doors): 3 to 5 days
- Full interior repaint (whole house, walls, ceilings, trim, doors): 5 to 10 days
- Full exterior repaint: 5 to 10 days (plus potential weather delays)
- Cabinet refinishing: 5 to 10 days (including door removal, off-site spraying, and reinstallation)
These are working days, not calendar days. Some projects involve intentional gaps (for example, a full cure day between primer and topcoat on cabinets, or waiting for stucco patches to dry on an exterior).
The most common questions homeowners ask during estimates are about warranty, products, process, timeline, and start date. We answer all of these in the proposal so there are no surprises.
For a breakdown of what painting costs in Utah, check our cost guide.
Ready to Get Started?
The first step is always a free estimate. We will walk your project with you, answer every question, and give you a detailed proposal with no surprises. Call us at (801) 512-2916 to schedule.